
Have You Ever Wanted to Make A Magical Elsa
Milkshake?
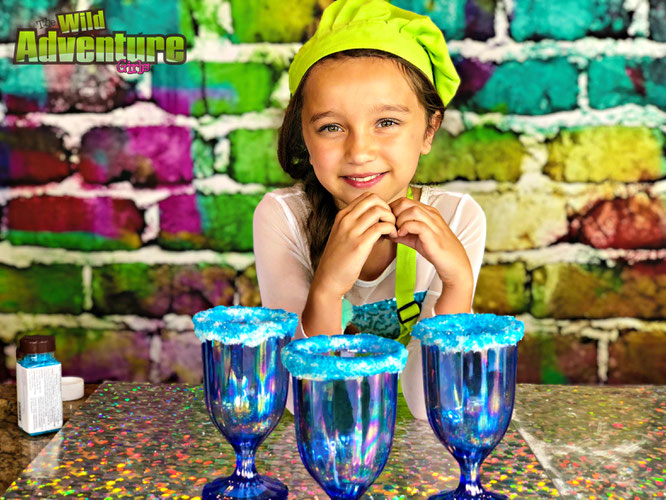
Today, The Wild Adventure Girls are headed straight into the magical land of Arendelle to show you how to make your very own
“Disney Frozen Milkshakes” with this easy recipe for kids!
What is a Disney Frozen Milkshake? Think of a delicious milkshake that is icy and refreshing and inspired by one of your favorite Disney characters, Queen Elsa and then topped with magical toppings that are fit for a Snow Queen!
Sweet! So, How Do I Make It?
This is where the yummy frozen fun begins! We are going to mix a bit of Frozen magic with yummy milkshake making deliciousness. To make your own Disney Frozen Milkshake we will need a few fun ingredients...
Let's get started with what you need to make your own “Disney Frozen Milkshake!”
- 2 Cups of Fresh Blueberries
- Candy Melts (Blue and White).
- Parchment Paper.
- 2 Cups of Ice Cream.
- Edible Glitter, Blue Sprinkles, Cups and Straw.
- 2 Cups Coconut Milk (or you can use the type of milk of your choice).
- 1 ½ Cups of White Chocolate Chips.
- Whip Cream.
- 1 TBSP Sugar.
- 1 TBSP Water.


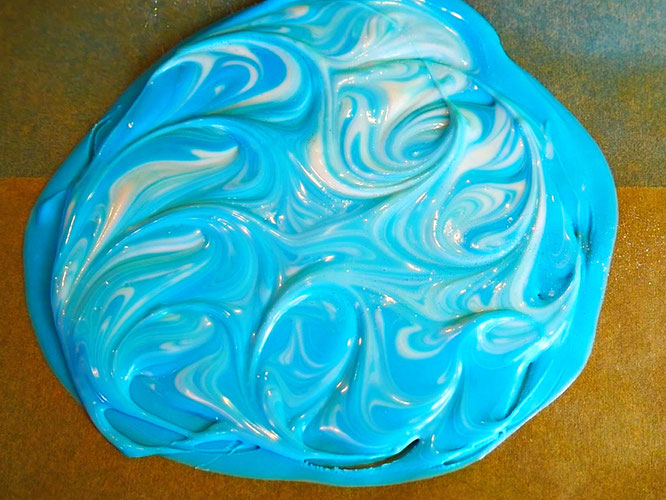
Let’s get started! The first thing we are going to do is make our icy garnish for our Frozen Milkshake. To do this, we are going to melt our blue and white candy melts starting with our blue color first. Once your blue candy melts are melted, we are going to pour it onto our parchment paper. Then we are going to repeat the step with our white candy melts. Get ready to work your magic! Now that your colors are poured onto your parchment paper, it’s time to swirl your colors around. To do this, you will want to take a toothpick and swirl your colors around into a fun Icy design. Then we are going to sprinkle the top with some magical Frozen edible glitter dust and then set it aside to cool.
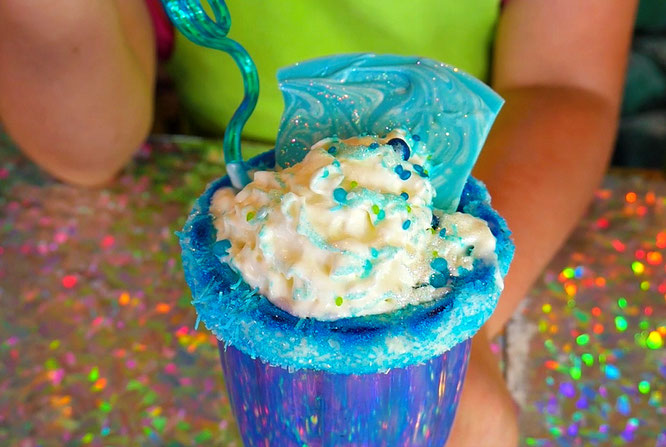
Are you feeling the magic? Sweet! We knew you would be! Now it’s time to decorate our Disney Frozen Cups! To do this, we are going to dip the rims of our cups into a plate of icing and give it a good twirl. We used our white candy melts for this step; however, any icing will do. Once the rims of your Frozen cups are nice and coated, it’s time to bring on the snowy sprinkles! On a separate plate, you will want to pour out your favorite Frozen inspired sprinkles and then take your cups with their icing tops, and twirl it all around your sprinkles.
Ready for the next steps? Awesome, it’s now time to create our ice-tastic milkshakes!
For this step, we will need to take 2 cups of blueberries, 1 tbsp of sugar and 1 tbsp of water and pour it over a low medium heat. This is what is going to give our milkshakes our Frozen magical color. We will then keep stirring and mixing until our blueberries are cooked down.
Now that our blueberries are soft and smell totally blue-licious, it is time to turn off the heat and strain out their juices into a separate bowl. This part is fun and easy. With the back of your spoon, you can mash your blueberries in your strainer and watch their juices flow into the bowl below.


Are you ready with your blueberry juice? Great…let’s keep going! For the next steps, you will need your blueberry juice, coconut milk (or the milk of your choice), white chocolate chips and ice cream! We are going to add all these ingredients together on a low heat and mix until all our ingredients are completely mixed and melted! Once your ingredients are melted, off to the freezer they go! You will want to pour your delicious milkshake mixture into a separate bowl and stick it in the freezer for 20-35 minutes to cool.
Is it getting cold in here? At this point your Frozen milkshake mixture should be nice and cold and is ready to go into your magical Frozen cups and for the finishing touches!


Get ready for some Disney Frozen magic! Now that your cups are filled with your yummy Frozen mixture, we are going to top our shakes with some yummy whip cream, Elsa glitter and sprinkles. Let’s also not forget the beautiful garnish we created earlier, a blue straw to completely create a Disney Frozen milkshake masterpiece!
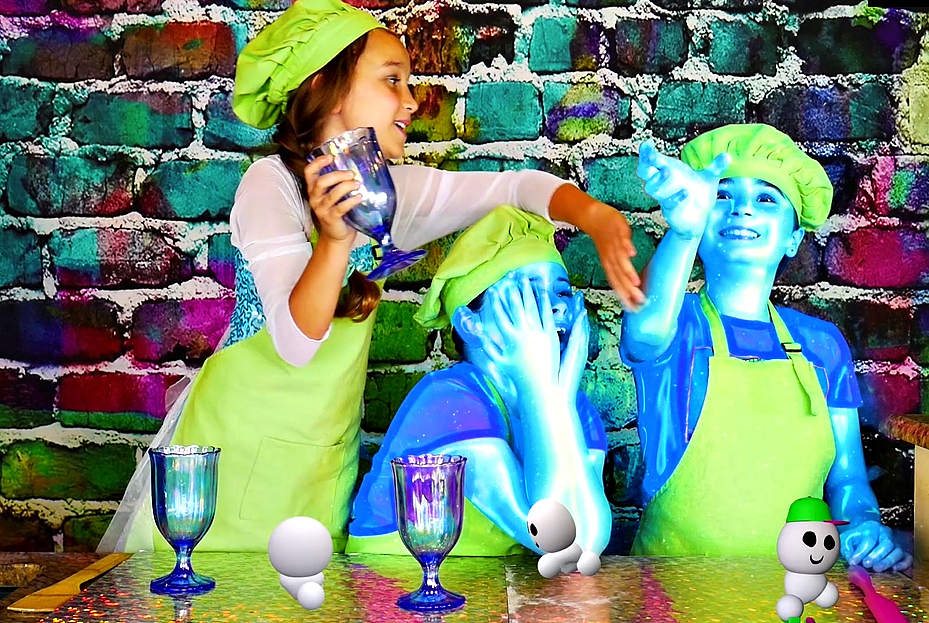
Will Angelina, Scarlett and Annabella be swept into the land Arendelle while creating their Disney Frozen Milkshakes? Tune is to see what happens when The Wild Adventure Girls explore the world of science and Disney!
Learn How to Make Edible Unicorn Slime Here: Edible Unicorn Slime

Now tell us, What Have You Discovered Lately? Like this Article? Don't forget to share!
Write a comment
Jasmine (Saturday, 27 July 2019 16:14)
This is such a great recipe! Love the Disney Frozen theme. Great job. Love you Wild Adventure Girls. Our kids watch your show on YouTube every day! ♥
The Wild Adventure Girls (Monday, 18 November 2019 15:19)
That is so great to hear! ♥♥ Thank you very much Jasmine! :)
Julia Lopez (Tuesday, 26 May 2020 09:28)
Hi I am a big fan!
Julia Lopez (Tuesday, 26 May 2020 09:29)
I made one of the edibl slime resipes and it eas great!
Julia Lopez (Monday, 22 June 2020 16:14)
i mean it tasted great!!!!!!
china (Friday, 06 November 2020 13:54)
i love it
Samantha��� (Tuesday, 23 March 2021 07:00)
I definitely want to make this some time.���
Giuliana (Thursday, 02 September 2021 16:03)
I looooooooooove the shake
zoey (Wednesday, 01 February 2023 11:32)
i am your biggest FAN
Reeva (Sunday, 02 February 2025 19:19)
I am a big fan of the wild adventure girls # wild adventure squad